IDM on Synology NAS

Synology has proven itself as a high reliability NAS ranging from home to professional use. It is a professional replacement for Raspberry PI and 24/7 measurements with plenty of storage space and also sufficient computational power to run analytics.
Quick tips for reliable operation:
An UPS is desired for reliable operation to overcome power interruption issues.
Setup periodic remote backups and for 24/7 running systems use at least models with two disk bays hot-swappable running in Synology Hybrid Raid 1 mode. Note that RAID is not a backup.
Table below represents included features and compatibility notes.
Feature |
Compatibility |
Full Speed USB Devices |
Yes, Plug and Play |
USB/Serial Devices |
Yes, pre-configured 4 serial PnP ports |
UDP Devices |
Yes on port 33005 |
Bluetooth |
No due to missing RFCOMM kernel module |
Web RESTful API |
HTTP port 33000 |
Web Access |
Yes, direct or via reverse proxy |
Logging |
Synology Log Center |
Installation
The following installation notes were tested on:
Synology Models x64 and ARM
DSM 6.1, DSM 6.2
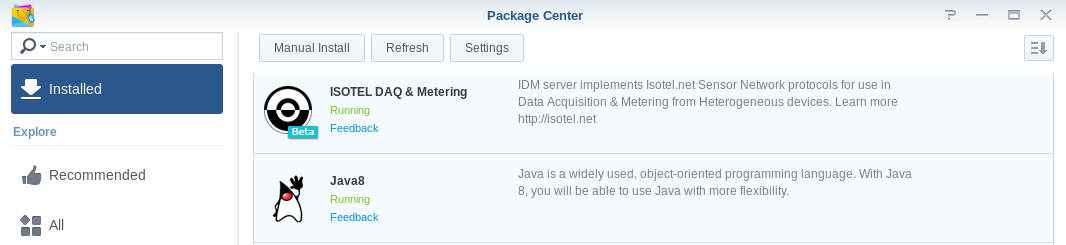
Minimal setup requires Java8 to be installed on a system.
Note
After installing Synology Java8 package open it from a Start menu and follow guidelines for instructions. The package itself does not provide Java8 and needs to be transferred from official Oracle page. Clickable link with instructions is provided by the Synology Java8 application.
To install IDM package, click on Manual Install and select the IDM spk file downloaded from Installation page. IDM application will also be added to the start menu.
Setting Default Passwords
After package has been installed or upgraded, you should set the passwords for the following users:
admin, with full access to the IDM, includes creating or dropping connections, etc.
user, with full access to attached devices only, but without admin permissions. This user is allowed to modify state of the devices.
guest, with read-only access to the devices.
To set the password:
Open the Application from Synology Start menu, which will ask you username and password. Enter first the admin as user, and your password. Note that password is entered only once, without verification. Do not use admin or 1234 word for password, be more creative.
Then open the same URL in a private window of a Firefox (or other browser), and enter the 2nd user: user with different (or same if you’re the only user) password. Do not use user word for password, be more creative.
And repeat the 2. step for the last guest user. If you allow others to see your devices you may simply type again guest as a password.
Passwords are stored as hash into the idm.conf file, and will be reset when package is reinstalled or upgraded.
If you NAS is open to the web and you’re about to access your devices externally with username other than guest then it’s highly recommended to use secure protocol as described under Optional: Setting up Web Reverse proxy.
Using the Web View
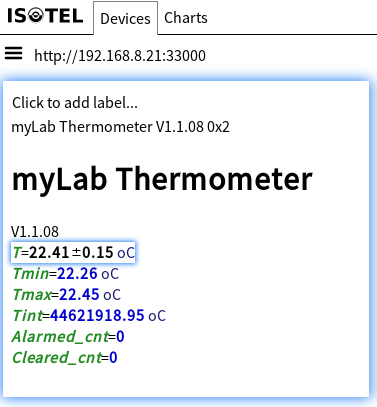
The web app allows easy access to browse all device’s parameters. The level of access is selected under the gateway’s bread-button.
By clicking on individual parameter user may modify it or add it to the chart. At the time of a click a request is made to the device to fetch the latest value.
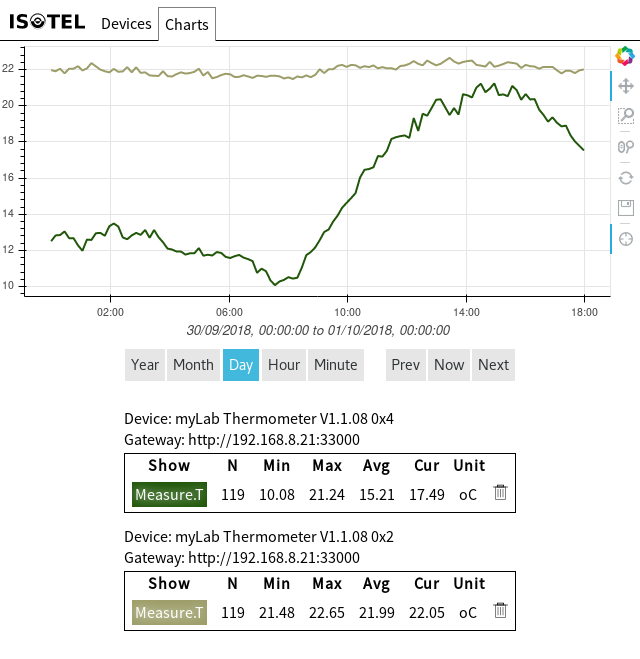
More than one parameter from single or different devices may be added to the chart for comparison as seen in the following example from two USB Isotel Precision myLab thermometers:
Optional: Integration with System Logs
To capture system logs open install Synology Log Center package, and under Log Receiving section create a new configuration as shown below:
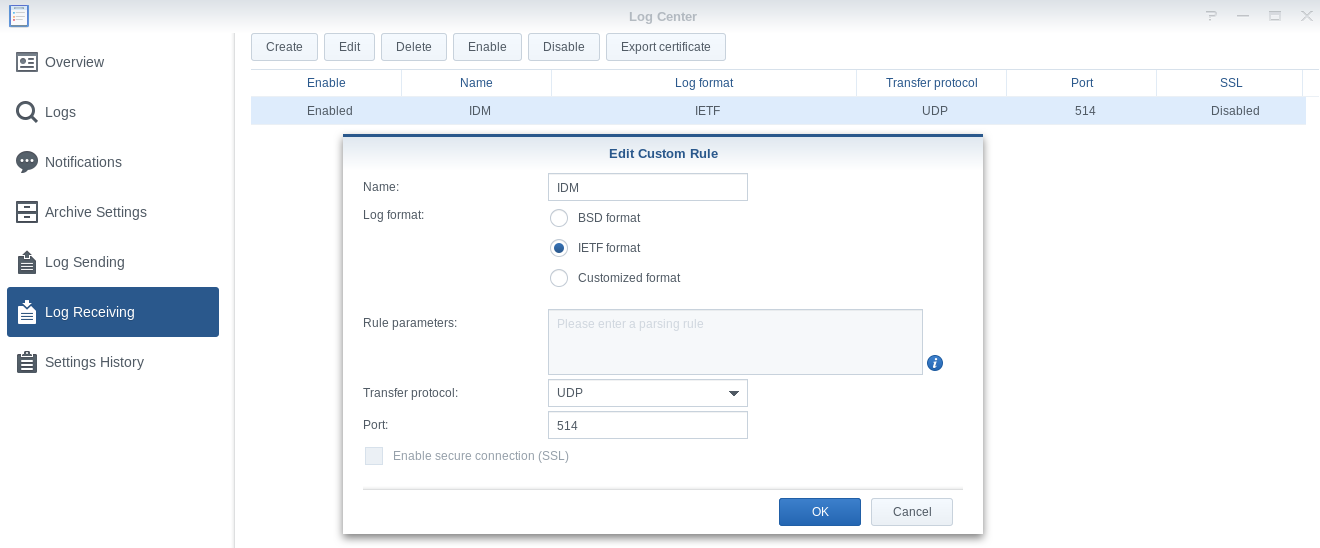
By default archive folder is not setup under Archive Settings, choose some non-crypt folder, as Log Center appears to be started before they would be mounted.
All important notifications, including device changes and issues, are gathered by the central system log. They can be seen under Overview and Logs (click on From other servers). Under Notification section you may setup reception of the logs by given criteria.
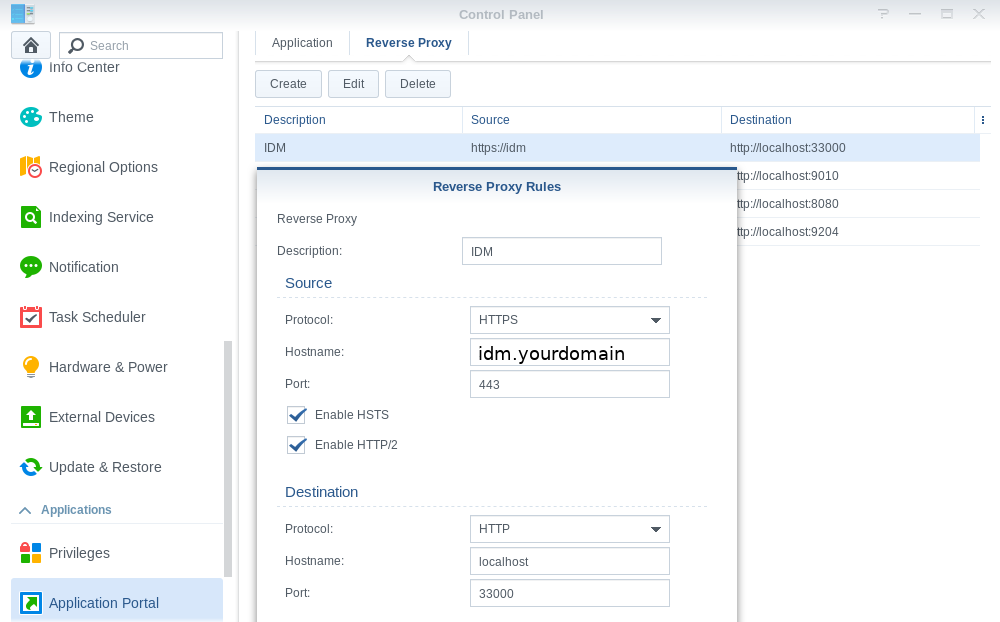
Optional: Setting up Web Reverse proxy
If you have assigned a (dynamic) domain name to your server then you might want to assign a sub-domain for the IDM as idm.yourdomain to be accessible either via standard non-crypt 80 or SSL based 443 port. Advantage of using standard ports is accessibility from all over the world as at some places they may have blocked ports other than 80 and 443.
Under Control Panel / Application Portal it is possible to setup a reverse proxy to a predefined domain name as for example idm.yourdomain. It can be either http or https as shown below:
Note
You must setup a valid sub-domain also in your DNS server.
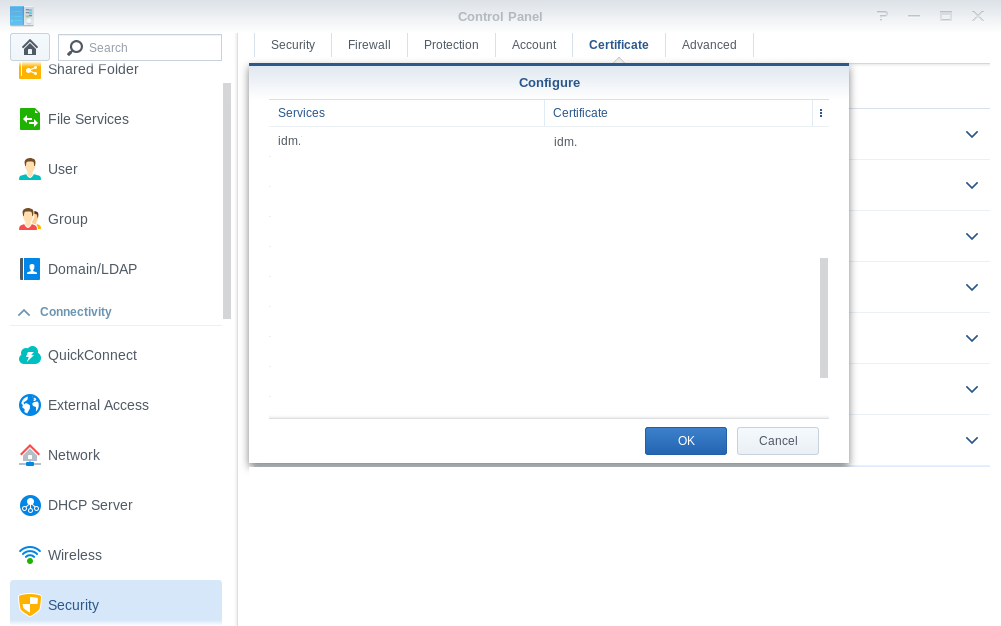
For https you may obtain a valid Certificate from Let’s Encrypt community by going to the Security section, click on Add to create a new certificate, enter the same domain as above (idm.yourdomain) for your selected proxy domain. If domain has been properly setuped Let’s Encrypted SSL certificate will be automatically installed on your Synology system as well as automatically renewed when it expires. Then press on Configure button to select the obtained certificate for your idm.yourdomain.